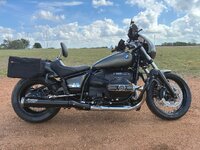
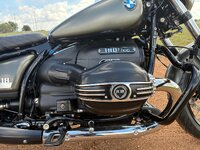
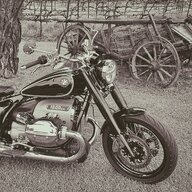
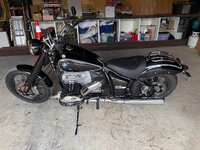
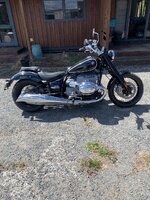
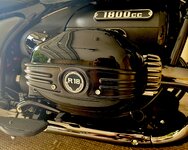
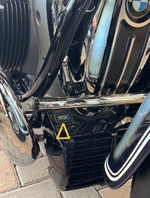
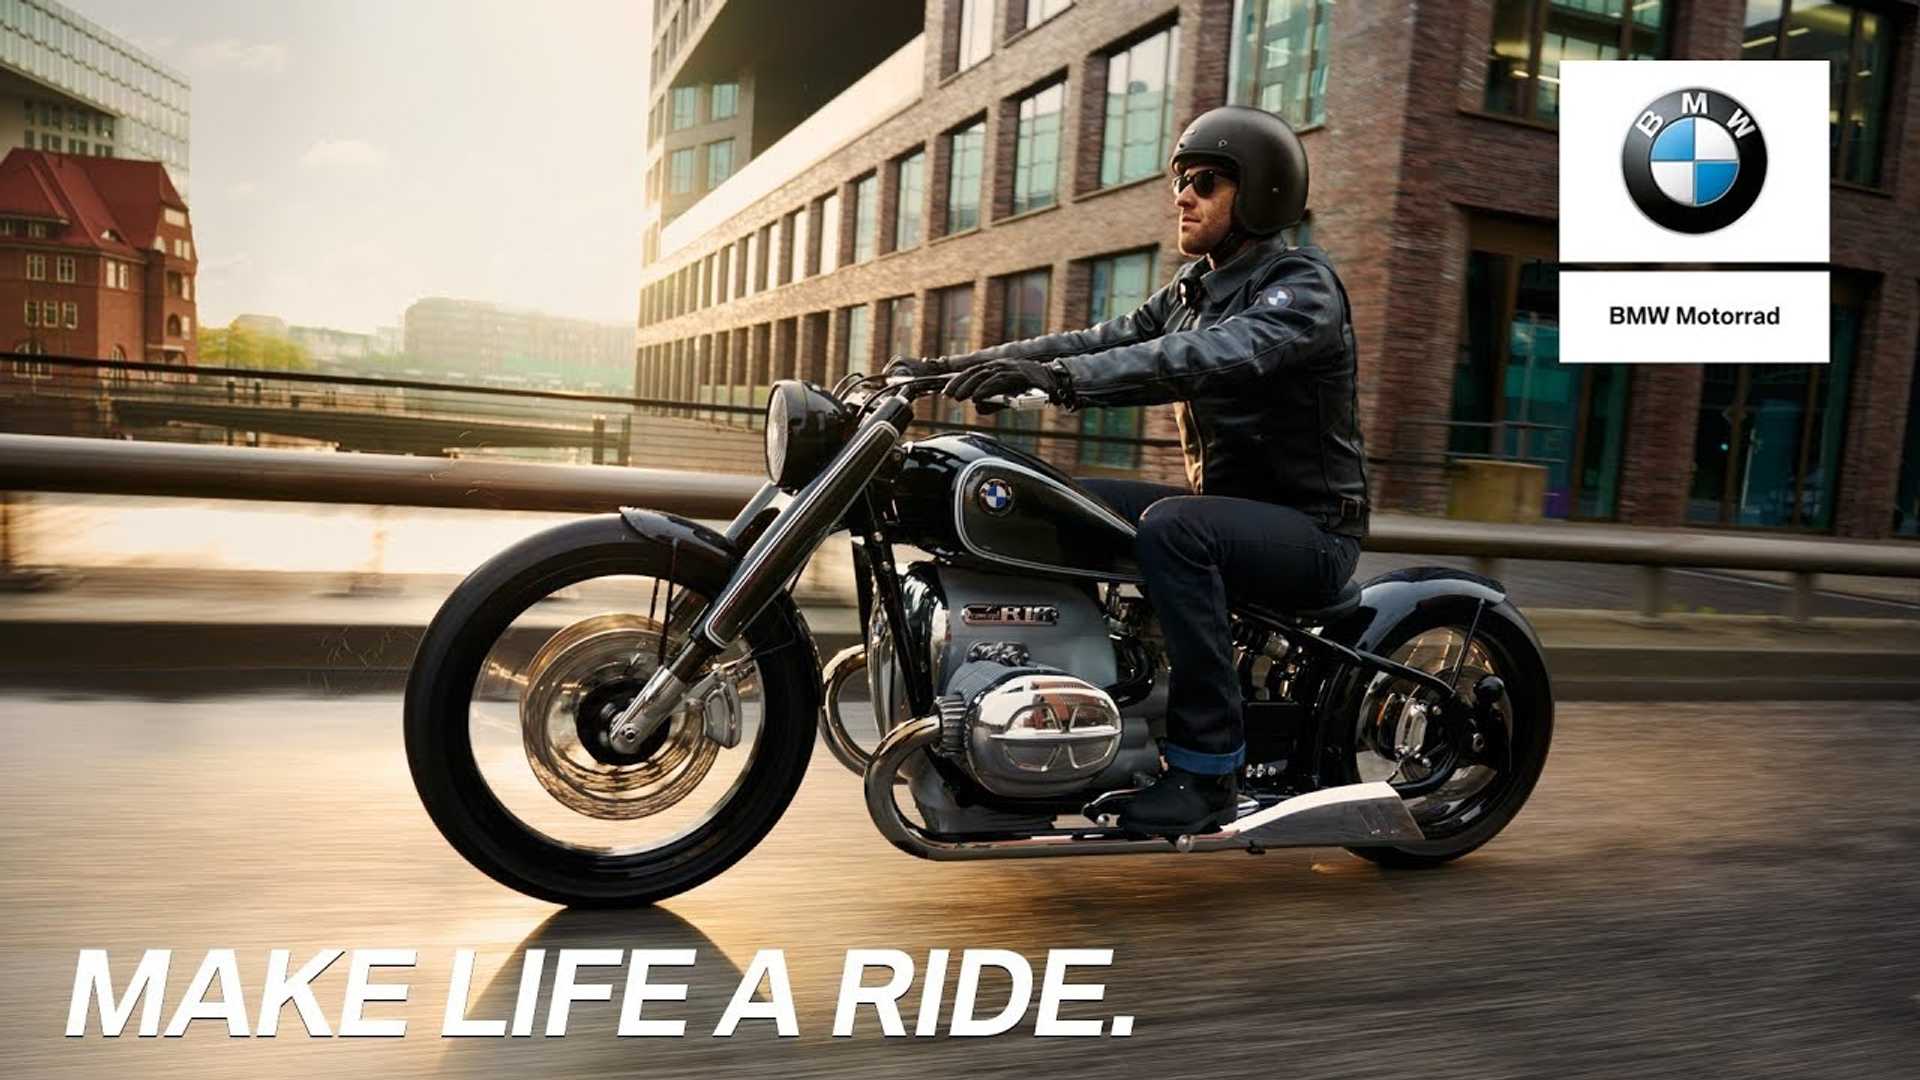
I am lucky enough to own a bunch of bikes. And I probably work on them more than I ride them. Always fidgeting or titivating something. I generally have three to four out of action, waiting for something: chroming, painting, farkles, bling, information or simply time. I initially compile a Worklist, fiddle that for a while, get everything lined up (which can spill into years, during which I can completely change course) and then knuckle down and tackle the entire project over a 3-4-week period. I originally contemplated a bobber along R18 Concept lines but then, over time, pivoted to assembling my interpretation of the R18 Classic.
This was Rommel's Worklist - not exhaustive. Everything struck through has been done, except when struck through and in red font - which got cancelled. Anything left in bold still needs to be done. Things do not always get done in the exact order noted, so, it is more a checklist than a schedule.
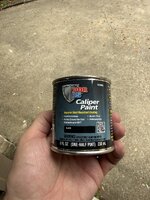
· Remove Plastic Body Parts for filler coat and gloss black painting – two Side Pieces, Tailpiece, Oil Cooler Cover and Denali Spotlight Bezels.
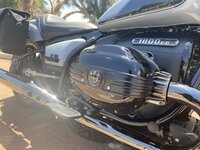
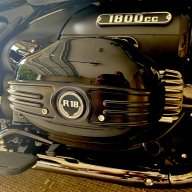
· Remove Plastic Engine Parts for engine color & texture repainting – Rear Engine Covers and Intake Covers.
· Remove Body Parts for repainting – Fuel Tank, Front and Rear Fenders, Side Covers and Headlight/Spot/Speedometer Buckets.
· Reset Service with the Hex-Code Flasher and install the BT Moto Tune.
· Attach the RSD Valve Cover Trims to the Valve Covers.
· Install the OEM Rear Foot Pegs.
· Install the DNA Air Filter and Air Filter Frame.
· Remove the Mufflers, remove and set aside the Exhaust Flapper Motors and mount the Flapper Motor Bypasses.
· Remove the 16” Rear Wheel and remove the tire and tube.
· Remove the 19” Front Wheel and remove the tire and tube. Set the 19” Front Wheel aside.
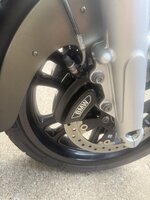
· Install the Brake Discs and ABS Ring on the 16” Front Wheel.
· Install the OUTEX Kits on both Wheels. Remount Tires, test, balance, and clean the Wheels.
· Attach and install the RSD Breastplate on the front of the Engine.
· Install the Trail-Tech Oil Cooler Fan Kit and route Cables for it, the Denali Spots, and the (front) Wunderlich USB Dual Socket.
· Trial-fit the Wunderlich Quick-connect Cable(s) for Media and GPS.
· Install the Power Cutout Switch at the Battery.
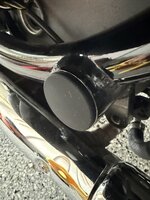
· Install the BMW Horn – choose which one to use: car or bike.
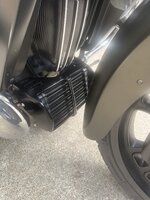
· Install the Oil Cooler Guard with Trail-Tech Thermometer.
· Install the DK Engine Guard, trial-fit Denali Spots and blind-spot Mirrors.
· Trial-fit the stock versus large DK Front Fender and decide on which to use.
· Remove Switches, Hand Controls, Mirrors, and Stock Handlebars.
· Sort out the BMW Spotlight wiring harness, Cruise Control Switch and Throttle. Route Cables.
· Disassemble the Mirrors and fit the Convex Glass Cutouts.
· Swap out the Stock Rear Shock with the new Nitron R1. Mount the HPA.
· Refit the Front and Rear Wheels c/w Wunderlich front wheel crash bobbins. Install Wheel Pinstriping.
· Trial-fit the Beach Bars versus the Stock Bars with the Wunderlich Risers. Install OEM riding lights c/w support, allowing for the Windshield.
· Lengthen indicator cables and install cabling inside the Beach Bars. Install the Handlebar-mounted Front Indicators.
· Reinstall the Top and Rear Engine Covers and Intake Covers with Chrome Trim.
· Install the Handlebars and Fuel Tank. Trial-fit the Wunderlich Fuel Tank Rack. Fit the Flip-open Fuel Cap.
· Install the extended Hydraulic Hoses, including Cruise-control Switches and Hand Controls. Attach the Steering Head Ball.
· Bleed the Clutch and Front Brake. Bleed any other suitable ready Bikes as well.
· Install the Headlight Bucket and the Wunderlich Windshield Frame. Mount all Mirrors.
· Mount the Windshield. Arrange installed Cables and Wiring and fit Cable Mounts as required.
· Mount the Tailpiece, License Plate and new Rear Indicators/Tail-Brake Lights plus Denali License Plate Light.
· Install the Rear Fender, Luggage Rack, Pillion Rest, Wunderlich C-bow Carriers and C-bows.
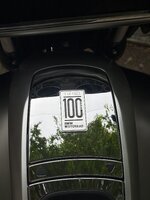
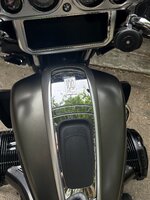
· Install other gloss-black Pieces (left side with BMW emblem), Side Covers and Mustang Seats. Swap the rider seat with the RSD rider seat.
· Install the Wunderlich Leg Rests and RSD Valve Covers. Install the (rear) OEM USB Dual Socket.
· Install the Wunderlich Ergo-Comfort Rider and Pillion Footrests, Gear Shifter, and Rear Brake Pedal. Fit Lid-Locks.
· Reinstall the Fishtail or Short Mufflers (the latter with Covers).
· Check and swap out all Engine and Chassis Hardware with BMW fillister head Torx as applicable.
· Dubin and install the Hepco & Becker Saddlebags.
· Wash, polish, and ride. Photos!
Not on the list, is spare set of fishtails that I recently bought on eBay. I plan to get those gutted - I need a louder exhaust note.
As well. I cannot get the cruise control to work and have a persistent (new rear light related) instrument warning, for which I will need to go see Motorrad. That will obviously cost me an updated BT Moto tune.
I love the bike now. My wife is not too happy with the Mustang Day Rider Pillion, meaning I might have that modified to add more cushioning. And I still have the odd fastener to replace with BMW fillister head Torx counterpart.
I might also replace the 3/8" pinstripe on the rims with 2-off: 1/4" plus 1/8".

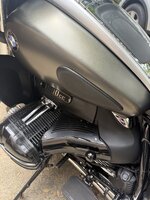
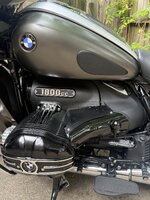
 ).
).